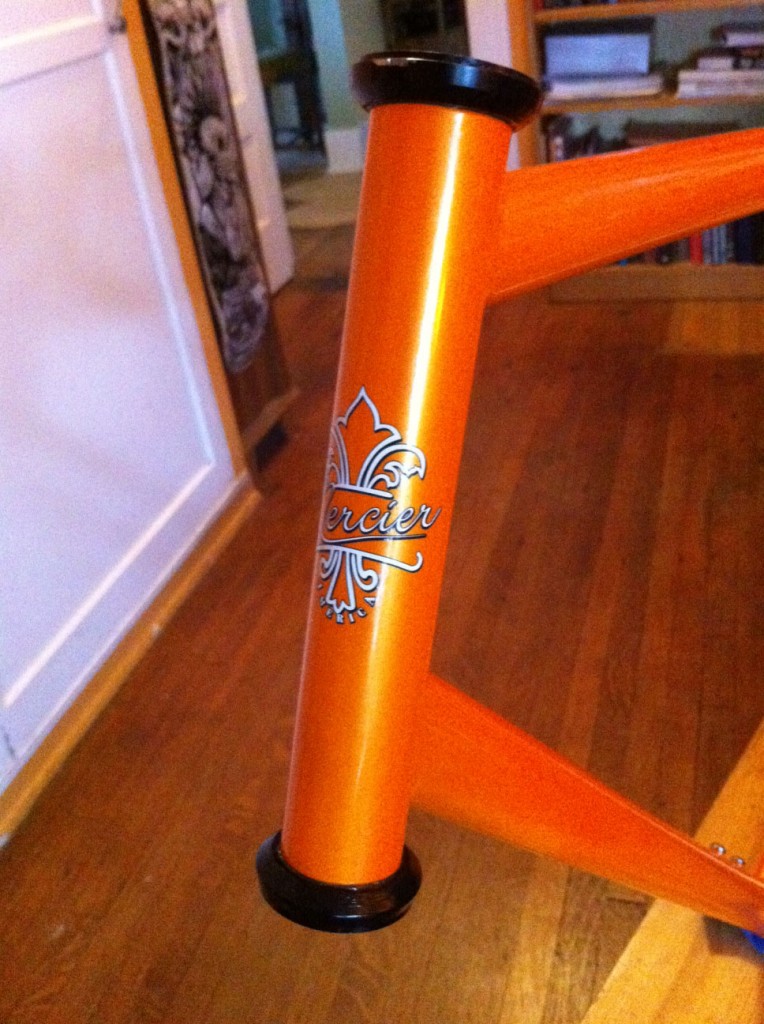
The main hold-up to progressing El Naranja to completion is the installation of the headset cups into the bike’s headtube. Basically the cups secure the fork and also hold the bearings that enable the fork to turn smoove like dah buttah. But getting them in there isn’t just a matter of popping them into place. The end of the cup that goes into the tube is wider than the tube itself, so they gotta be wedged in — and not with a hammer or mallet, which will destroy the lips of the cups.
So my options were:
A) Spend as much or more money than I did on the new frame to get a triple-digit$ fancy-looking professional headset press tool and then wait until it arrives sometime next week
B) Take it to a bike shop and have them do it for $10-$15 pretty much right away
C) Wait until Saturday and take it the Bike Kitchen (closed on Fridays) to use their fancy-looking professional headset press tool for a minimal donation
Ooooooooooooor I could go with a fourth option: make my own single-digit$ unfancy-looking hardware store handset press tool.
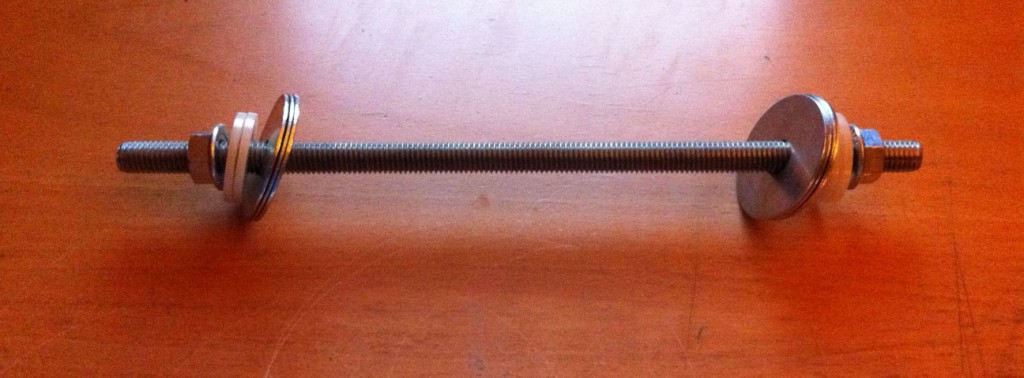
So with a trip to Baller Hardware I did just that, for $8.06 worth of washers, a bolt and nuts (parts “recipe” itemized at end). And it looks a little unimpressively something like this:
Basically I placed the cups in their respective positions on the headtube, then I ran the bolt up through the head tube, adding the washers and nut onto the end coming out of the top. Then I made sure everything was straight and the washers had good and completely even contact on the cup lips. Next I held the lower nut firm in a pair of pliers and with a crescent wrench started cranking down the top nut, until the cups were exactly and beautifully and perfectly seated between them in the headtube. Look ma, I made a headtube sammich:
After a few reverse turns of the crescent wrench to loosen the top nut I spun it off the bolt and removed the washers, then slid the homebrewed contraption out through the bottom of the headtube and sat back for a little bit proudly marveling at my ingeniousity and its success:
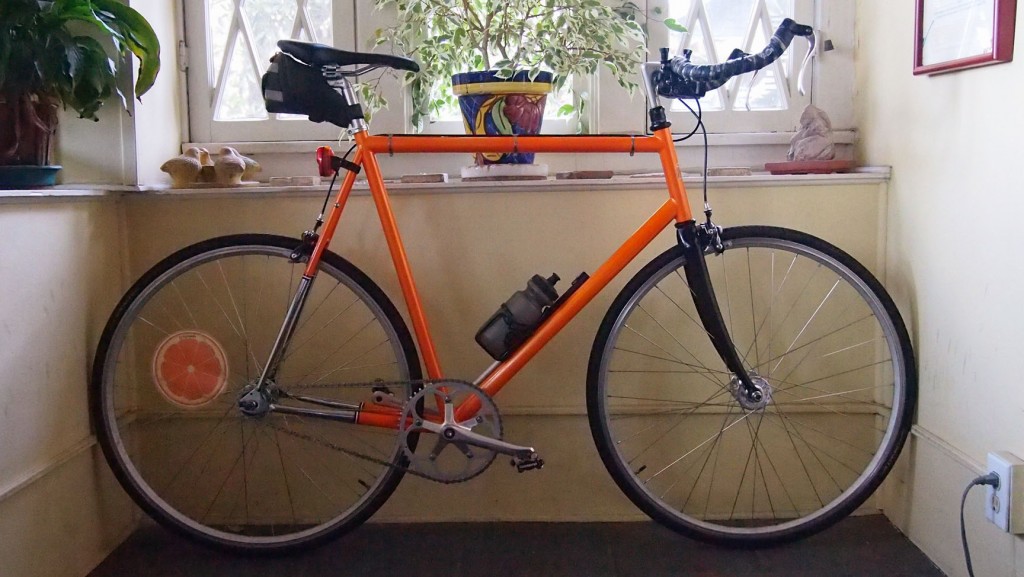
With that important hurdle cleared so magnificently and inexpensively, I then of course got busy attaching the rest of the componentry, and by the time Susan got home, El Naranja was in the foyer ready to roll (give or take some adjustments to the seat, brakes and handlebar height):
That inaugural ride tomorrow will be interesting in that I changed up some key items from what 8Ball carried. The chainring is 52 teeth, up from 48, which’ll require more exertion getting up hills and going from complete stops, but will also allow me an extra mph or two when I have the urge to go all batouttahell on downhills or flats. And the cranks themselves are only 160 millimeters in length, down from the 165s I’ve used for the last four years. I also opted for the shortest possible chain circumference, which in turn brings the rear wheel into the frame with minimal clearance between its tire and the frame. The measurements may seem miniscule but they might take some some getting used to.
Recipe for my Hardware Store Headset Press Tool
Ingredients (your prices will vary):
1 – 1/2″ threaded (aka coil) rod* that’s longer than the length of your headtube (in my case, 12 inches), $2.49
2 – flanged nuts (regular nuts will probably work fine, but the flanges provide a little more contact area), $0.37 each
4- nylon washers (somewhat optional; used as cushion between nuts and metal washers), $0.49 each
6 – 2″ metal washers (aka “fender” washers; I got so many so the thickness would help distribute/transfer the pressure, but I probably only needed four), $0.37 each
*An alternative could be a suitably long threaded bolt (which would mean you’d only have to buy one flanged nut), but you want to make sure the bolt’s threads extend at least an inch below the end of the headtube.


 Follow